Before the Accident Happens: How to Set Up Your Onsite Testing Program in One Afternoon
October 2, 2026 · RC Team
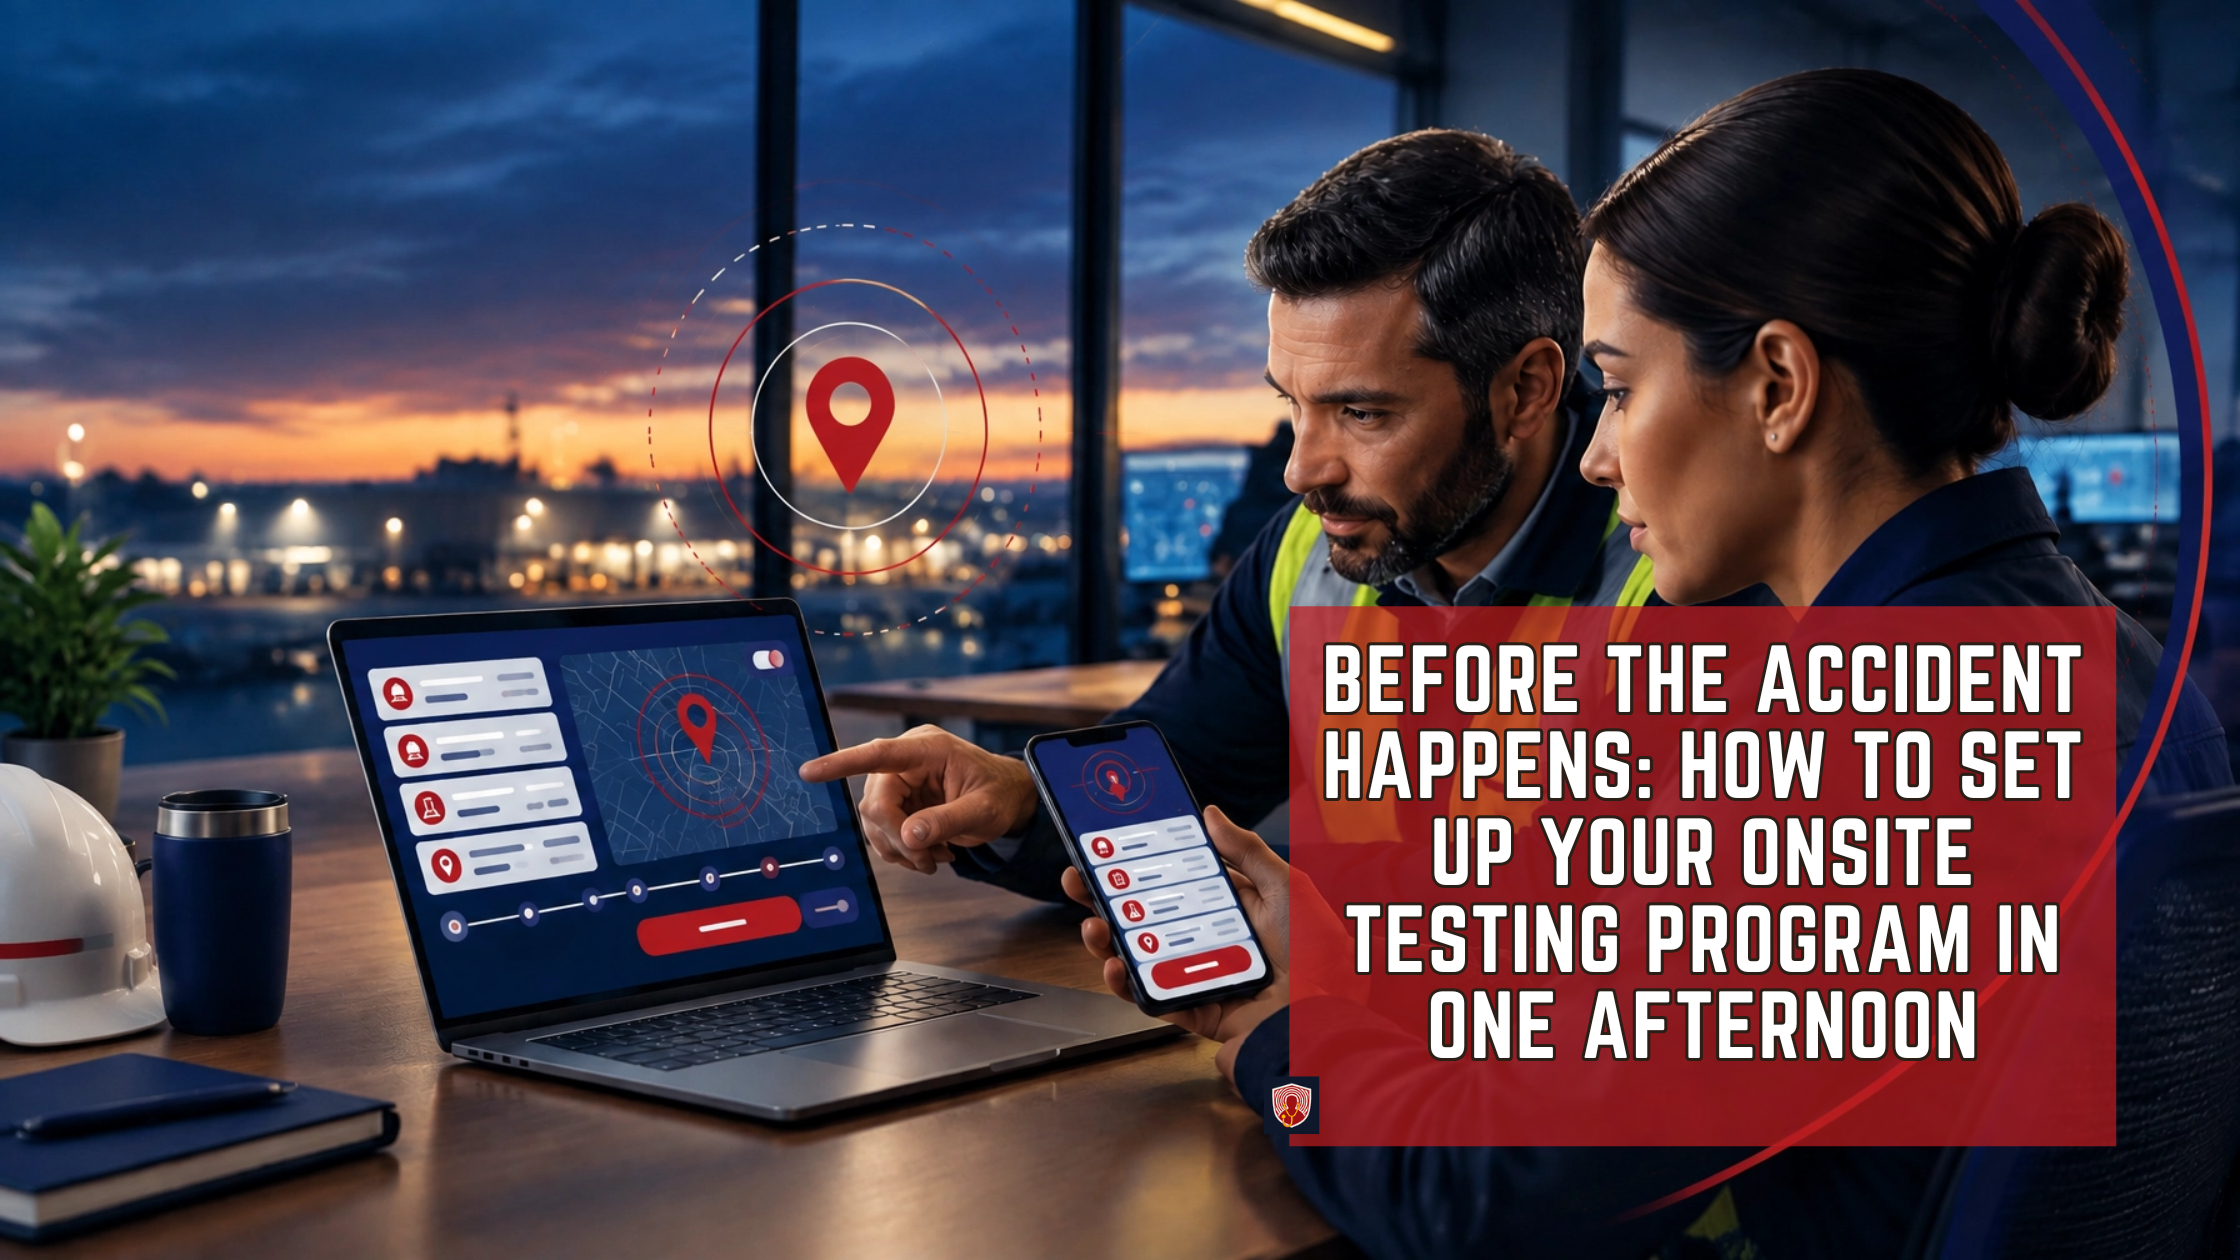
An accident is the worst possible time to discover that nobody knows who can request a test, where the driver is located, or which phone number answers after midnight. A post-accident testing program works best when the decisions have already been made and the essential information is already in the system. With a focused afternoon of preparation, you can create a repeatable process that helps your team respond quickly, consistently, and with less confusion.
For DOT-regulated employers, speed matters because the testing windows begin with the accident. Under 49 CFR § 382.303, required alcohol testing must be performed as soon as practicable, with attempts stopping after eight hours, while required controlled-substances testing must be completed within 32 hours. A practical program should therefore make the first request nearly automatic.
WHY READINESS MATTERS AFTER AN ACCIDENT
Post-accident testing is not required for every incident. In general, DOT rules apply when a qualifying accident involves a fatality or when the driver receives a moving-violation citation after an accident involving qualifying bodily injury or disabling vehicle damage requiring a tow-away. The exact requirements depend on the facts of the event, so your designated employer representative (DER) should use the regulation and your established procedures when making the final determination.
The challenge is that accident scenes are rarely orderly. A driver may be receiving medical attention, dispatch may be coordinating a tow, and management may be trying to contact law enforcement or family members. That is why an on-demand system with a built-in decision tree, rapid collector response, and real-time status updates can be a convenient and practical part of your emergency readiness plan.
> Quick Tip: Treat your onsite testing process like an emergency contact plan. If the right person can open the system and send a complete request without searching through old emails, you have already saved valuable time.
STEP 1: LOAD YOUR COMPANY AND DRIVER INFORMATION
Start by creating your company profile before an incident occurs. Enter the legal business name, operating locations, primary contact information, billing details, and any other information your testing provider requires. If the platform allows you to maintain driver records, add the names, phone numbers, employee or driver identification numbers, and normal operating locations that will help dispatch identify the correct person quickly.
Review the information for accuracy rather than assuming someone will fix it later. A misspelled driver name, outdated phone number, or incomplete location can create additional back-and-forth when the clock is running. Keep a short internal checklist so that new hires, departing drivers, and changes in dispatch responsibility are reflected promptly.
Your setup checklist should include:
Company legal name and operating address
Primary DER name, email address, and phone number
Driver names and contact information
Fleet or unit identifiers, when useful for internal tracking
Common terminals, yards, and operating locations
Billing and account authorization information
Any customer-specific or location-specific collection instructions
READI Collect’s onsite testing services are designed to connect employers with a nationwide network of professional collectors through its patented application. Preparing your account in advance allows the technology to support your process instead of becoming another task during an emergency.
STEP 2: ADD AUTHORIZED CONTACTS AND AFTER-HOURS NUMBERS
A request sent at 3 a.m. is only useful if the collector can reach someone who knows what is happening. Add your DER, safety manager, fleet manager, dispatch supervisor, and backup contacts according to their actual responsibilities. Make sure at least one authorized person is available outside normal business hours, including weekends and holidays.
Do not rely on a single office line or one person’s personal phone. Include after-hours numbers, escalation contacts, and instructions for what should happen if the primary contact does not answer. You should also tell your team which people are authorized to send a request and which people may provide location or driver updates without changing the test order.
Create a simple communication policy that answers these questions:
Who can initiate a DOT post-accident request?
Who can initiate a non-DOT or company-policy test?
Who is the backup if the DER is unavailable?
Who confirms the driver’s current location?
Who communicates with the collector?
Who documents delays, attempted contacts, or unusual circumstances?
Who reviews the completed event record?
READI Collect provides 24/7 customer service, dispatch, and network support, but your organization still needs an internal chain of responsibility. The service can help coordinate the collection; your company must ensure that the right people are informed and that your procedures are followed.
STEP 3: CONFIRM YOUR DOT AND NON-DOT PROCEDURES
Before you practice sending a request, separate your DOT procedures from your non-DOT workplace policy. A DOT test must follow the applicable federal requirements, forms, collection procedures, and testing protocols. A non-DOT test may be governed by your company policy, state law, employment agreements, or customer requirements, so it should not be treated as interchangeable with a DOT test.
Your written policy should explain what happens after an accident, reasonable-suspicion concern, workplace injury, or other event that may require testing. It should also state who makes the decision, how the driver is instructed, how medical needs take priority, and how the company documents attempts and delays. For DOT post-accident testing, drivers must remain readily available for testing when required, but necessary medical care and emergency assistance must never be delayed.
Review the following items with your DER and legal or compliance advisor:
The difference between DOT and non-DOT testing
Your definition of a reportable or qualifying accident
Alcohol testing goals and the eight-hour stopping point
Controlled-substances testing and the 32-hour limit
Driver instructions after a qualifying accident
Medical care and law-enforcement exceptions
Refusal-to-test procedures
Recordkeeping and delay documentation
Privacy and access controls for test-related information
The official regulation should remain your primary reference for DOT post-accident requirements. A technology platform can streamline the request, dispatch, and reporting process, but it does not replace your responsibility to apply the rule correctly.
STEP 4: BRIEF DISPATCH AND THE DER
Dispatch is often the first department to learn about an accident, while the DER or safety manager is responsible for determining the next compliance steps. Those two groups need a shared playbook. A driver should not be left waiting because dispatch assumed safety was calling, or because safety assumed the driver had already been sent for testing.
Give dispatch a short response card or digital checklist. It should tell them to prioritize emergency care, notify the designated contact, preserve the driver’s availability when appropriate, and provide the driver’s current location. It should also tell them what not to do, such as promising a test result, making an independent determination about a positive test, or directing the driver to resume safety-sensitive duties without proper authorization.
A useful first-response sequence looks like this:
Confirm that emergency services and medical attention have been addressed.
Notify the DER or authorized backup contact.
Record the accident time, location, driver, vehicle, and known circumstances.
Determine whether the event may meet DOT post-accident testing criteria.
Open READI Collect and submit the appropriate request.
Keep the driver and collector connected through the process.
Monitor the live status and retain the event documentation.
READI Collect’s built-in decision tree is intended to reduce the time spent determining whether a time-sensitive event may require testing. It should support your established policy, not replace the judgment of your DER or compliance professional.
STEP 5: RUN A PRACTICE REQUEST
A practice run is where your plan becomes usable. Have the DER, dispatcher, and at least one backup contact walk through the application or web portal together. Use a fictional scenario and confirm that everyone knows where to enter the location, choose the testing type, add the driver, and monitor the request.
The goal is not to create a real collection. The goal is to remove uncertainty before the pressure begins. Ask each participant to explain what they would do if the accident occurred at a remote shipper, if the driver’s phone battery was low, if the first collector could not accept the request, or if the primary DER did not answer.
During the practice run, confirm that your team can:
Log in from an approved phone or computer
Locate the correct company and driver information
Select the appropriate DOT or non-DOT service
Enter a precise collection location
Add an onsite contact and callback number
Understand the collector response and status notifications
Find time stamps and event details
Escalate an unanswered or delayed request
Close the loop with dispatch and management
After the exercise, update your contact list and procedures while the details are still fresh. Repeat the practice whenever you change your DER, add a new location, revise your policy, or introduce new personnel to the emergency response team.
REAL-TIME REPORTING BUILDS THE RECORD FROM THE START
A strong testing response is about more than finding a collector. You also need a reliable record of when the request was initiated, where it was sent, how the response progressed, and when the collection was completed. READI Collect’s real-time reporting and geo-fenced tracking are designed to provide visibility into the event as it develops.
That visibility can help your team identify delays sooner instead of waiting for a final status. Detailed event reporting may include time stamps, location information, and other event details that support internal review or an audit. Your organization should still maintain records according to applicable DOT requirements and its own retention policy.
The practical benefit is simple: the file begins building from the moment the request is sent. When the process is organized and time-stamped, you are better positioned to explain what happened, what actions were taken, and why any delay occurred.
IN CONCLUSION: BUILD THE SYSTEM BEFORE YOU NEED IT
You do not need a complicated project to improve your onsite testing readiness. In one afternoon, you can load company and driver information, add authorized contacts, confirm DOT and non-DOT procedures, brief dispatch, and complete a practice run. Those steps turn a stressful late-night decision into a familiar workflow.
The most important point is to keep the program current. Review access, phone numbers, driver records, locations, and procedures regularly, especially after staffing or policy changes. When a qualifying incident occurs, minutes saved at the beginning can help protect the available testing windows and give your team clearer documentation.
Ready to prepare your response process? Visit READI Collect to learn how the patented app, nationwide collector network, real-time reporting, and onsite convenience can support your testing program. You can also schedule an onsite collection or sign up before the next urgent request arrives.
Helpful search terms
DOT post-accident testing
FMCSA alcohol testing eight-hour limit
FMCSA controlled-substances testing 32-hour limit
DOT DER responsibilities
mobile onsite drug and alcohol testing
emergency post-accident testing
real-time drug testing dispatch
geo-fenced collection reporting
DOT and non-DOT testing procedures
after-hours onsite drug testing